

Understanding Camo Tarp Design and Functional Advantages
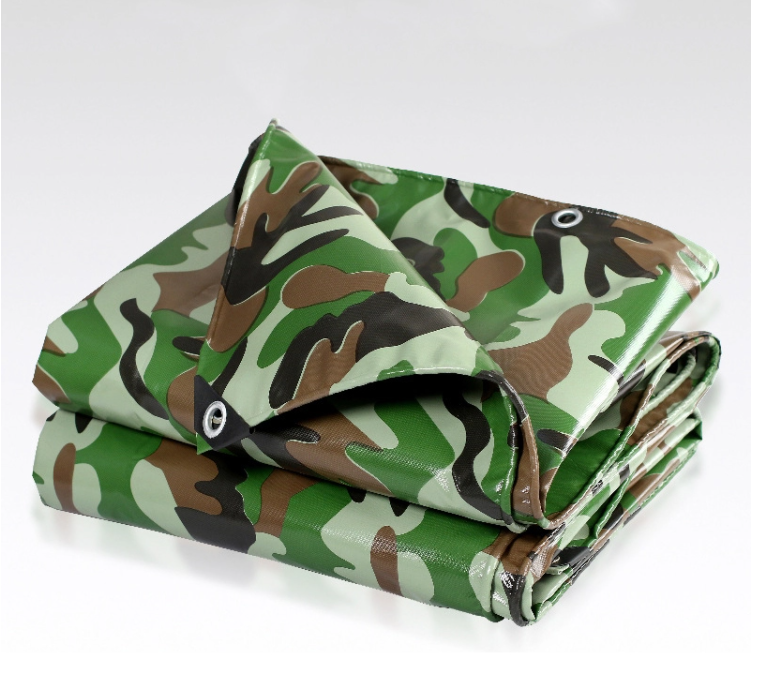
Core components: grommets, fabric, and camouflage patterns
Camo tarps aren't just random pieces of fabric thrown together. They actually combine three main components that make them work well in the wild. First off, most quality models come with heavy duty grommets made from either copper or brass. These little metal rings can hold quite a bit of stress too, probably around 225 kilograms worth if things get really rough. The material itself is usually some sort of polyethylene or polyester blend. Thickness varies between 8 and 18 mils depending on what the manufacturer thinks makes sense for durability versus how easy it is to stuff into a backpack. And then there's the actual camouflage pattern. Modern designs often incorporate these fancy fractal patterns that look pretty realistic when viewed from different angles. Manufacturers tweak the patterns so they match specific environments whether someone needs something for forest camping trips or desert expeditions.
How color and pattern enhance blending with natural environments
Good camouflage depends on disrupting what the eye sees through careful color mixing. Modern camo patterns usually have around five to seven different earth colors that blend with local plants, which helps hide the shape of whatever is covered whether someone looks at it normally or through infrared equipment. Field testing done last year showed something interesting too. When these camo tarps are set up correctly, they disappear from view about 9 out of 10 times once someone gets past about fifteen meters away. People wearing them just vanish into the surroundings almost completely throughout all four seasons, blending right in with whatever nature throws their way.
Reinforced grommets and durable materials for rugged deployment
Military-grade construction emphasizes weathering resilience. Double-laminated polyethylene fabrics resist winds exceeding 85 mph, while integrated UV inhibitors prevent degradation after 2000+ hours of sun exposure. Heavy-duty grommets feature rust-proof brass rings with triple-stitched webbing reinforcement, distributing tension across 2-inch perimeter strips to prevent pull-through during extreme weather.
Key durability comparison:
| Feature | Standard Tarp | Camo Tarp | Performance Gain |
|---|---|---|---|
| Wind Rating | 35 mph | 85 mph | 143% stronger |
| UV Resistance | 500 hours | 2000+ hours | 4x lifespan |
| Grommet Failure Load | 90 kg | 225 kg | 150% stronger |
Site Selection and Preparation for Optimal Camo Tarp Performance
Assessing terrain, wind direction, and sun exposure for strategic placement
Picking the correct spot makes all the difference for hiding things and keeping structures intact. Look at how the land curves and steer clear of those dips where water tends to collect after rain. Set up tarps so they run across the direction most winds come from this cuts down on flapping and makes them stand up better against gusts. Put the bottom edge facing into the wind and throw in some extra ropes on that windward side for good measure. Don't forget about where the sun moves across the sky during different times of day either shadows can help blend everything in naturally. According to some research done by forest services folks, tarps properly positioned relative to both wind patterns and sunlight last around 40 percent longer because stress gets spread out more evenly and materials resist fading better over time.
Clearing debris and leveling ground to support stable tarp setups
Start clearing the site first, getting rid of those pesky rocks, branches, and any vegetation that might poke through or mess with tension later on. Give the whole area a good raking until it's reasonably flat. Leave about 4 to 6 inches clear space all around where whatever gets installed will sit. Walk over the spot wearing boots to pack down any loose dirt, creating solid spots where things can anchor properly. When working on hillsides, remember to cut little ditches going uphill to stop water from pooling around equipment. The ground needs to be flat and clean underneath everything. Otherwise, all those tiny stresses will start showing up in the grommets over time, plus nobody wants noisy materials flapping around while trying to stay hidden during observations or hunts. A quiet setup makes all the difference sometimes.
Setting Up a Stable Camo Tarp Shelter: Framework and Rigging Techniques
Choosing anchor points and suspension systems for secure rigging
When setting up any rigging system, the first thing to do is find those main anchor points that can really hold weight, plus some backup spots just in case. Rock faces and solid tree roots work great as primary anchors most of the time. Secondary points aren't just extra they actually provide that crucial redundancy factor nobody wants to forget about. A good multi point suspension setup spreads out the load across multiple points which helps keep those grommets from failing when things get heavy. The US Army's field manual from 2023 mentions something interesting here too multi anchor systems cut down on failures by around two thirds when dealing with moving weights compared to relying on just one spot. And don't forget about triangulation either. Getting those anchor points at angles to each other creates balance in the tension and stops those annoying wind pockets from forming where gusts could pull everything apart unexpectedly.
Using trekking poles, trees, or stakes as support structures
Trekking poles offer adjustable vertical support when inverted, with the handle forming the apex. For tree-based setups, select hardwoods with trunk diameters over 6 inches to ensure ridge-line stability—coniferous trees provide 48% greater resistance to guy-line abrasion, per Forestry Technical Reports. When installing stakes:
- Angle them at 45 degrees away from tension vectors
- Follow a 2:1 depth-to-height ratio
- Use wedge-shaped stakes in loose soil
Hybrid systems combining trees, poles, and stakes offer the greatest adaptability, with field data showing 38% higher storm resistance than single-method configurations.
Proper tensioning and slope adjustment for water runoff and headroom
Achieve optimal performance through sequential tensioning:
- Set the ridge line at a minimum 4-foot clearance
- Apply corner tension until the fabric stabilizes
- Add intermediate guy lines every 2 feet
Keeping at least a 35 degree slope helps water run off efficiently, which cuts down on hydrostatic pressure by around three quarters when compared to surfaces that aren't as steep. When the tension is balanced across different directions, it stops the materials from wearing out too quickly and keeps plenty of space above ground level. Regular checks on tension are important stuff. Most of the time, adjustments come up roughly every month give or take a few days depending on weather patterns in milder climates. Don't go crazy with tightening things up though. Leaving some flexibility allows the structure to handle temperature changes naturally while maintaining its shape and appearance, making it blend in better with surroundings over time.
Wind-Resistant Stabilization: Guy-Line Systems and Tensioning Strategies
Strategic Placement of Guy Lines for Maximum Tarp Stability
When setting up guy lines, angle them between thirty and forty-five degrees away from each corner of the tarp. This helps spread out the force more evenly across the fabric, which can cut down sideways movement by around forty percent during strong gusts. Start by anchoring the main lines on the upwind side where they can benefit from whatever natural barriers exist already. For extra stability, place additional lines about three to four feet apart along the edges so they provide support from multiple directions. Don't run the lines straight across against the wind direction though, since that just causes more flapping and puts unnecessary stress on those little grommet holes in the corners.
Using Adjustable Tensioners and Elastic Cords for Reliable Performance
Lineloc tensioners allow real-time adjustments without untying knots, ideal for rapidly changing weather. Pair them with shock cords at anchor points to absorb 15–20% of wind energy through controlled stretch. These elasticized systems maintain a baseline tension of 12–18 lbs, preventing sag in calm conditions while accommodating sudden gusts.
Common Guy-Line Mistakes and How to Avoid Them
- Over-tightening: Creates stress points near grommets; use a tension meter to stay below 25 lbs
- Uneven angles: Leads to asymmetric loading; verify angles using a protractor app
- Ignoring terrain: Soft soil requires deadman anchors; rocky ground needs camming devices
- Static knots: Prusik loops or taut-line hitches perform better than square knots in variable winds
Pro Tip: Test your rig in 15–20 mph winds before full deployment—if tarp edges flap more than 2 inches, rebalance the tension across all lines.
Maximizing Concealment and Versatility in Tactical and Outdoor Use
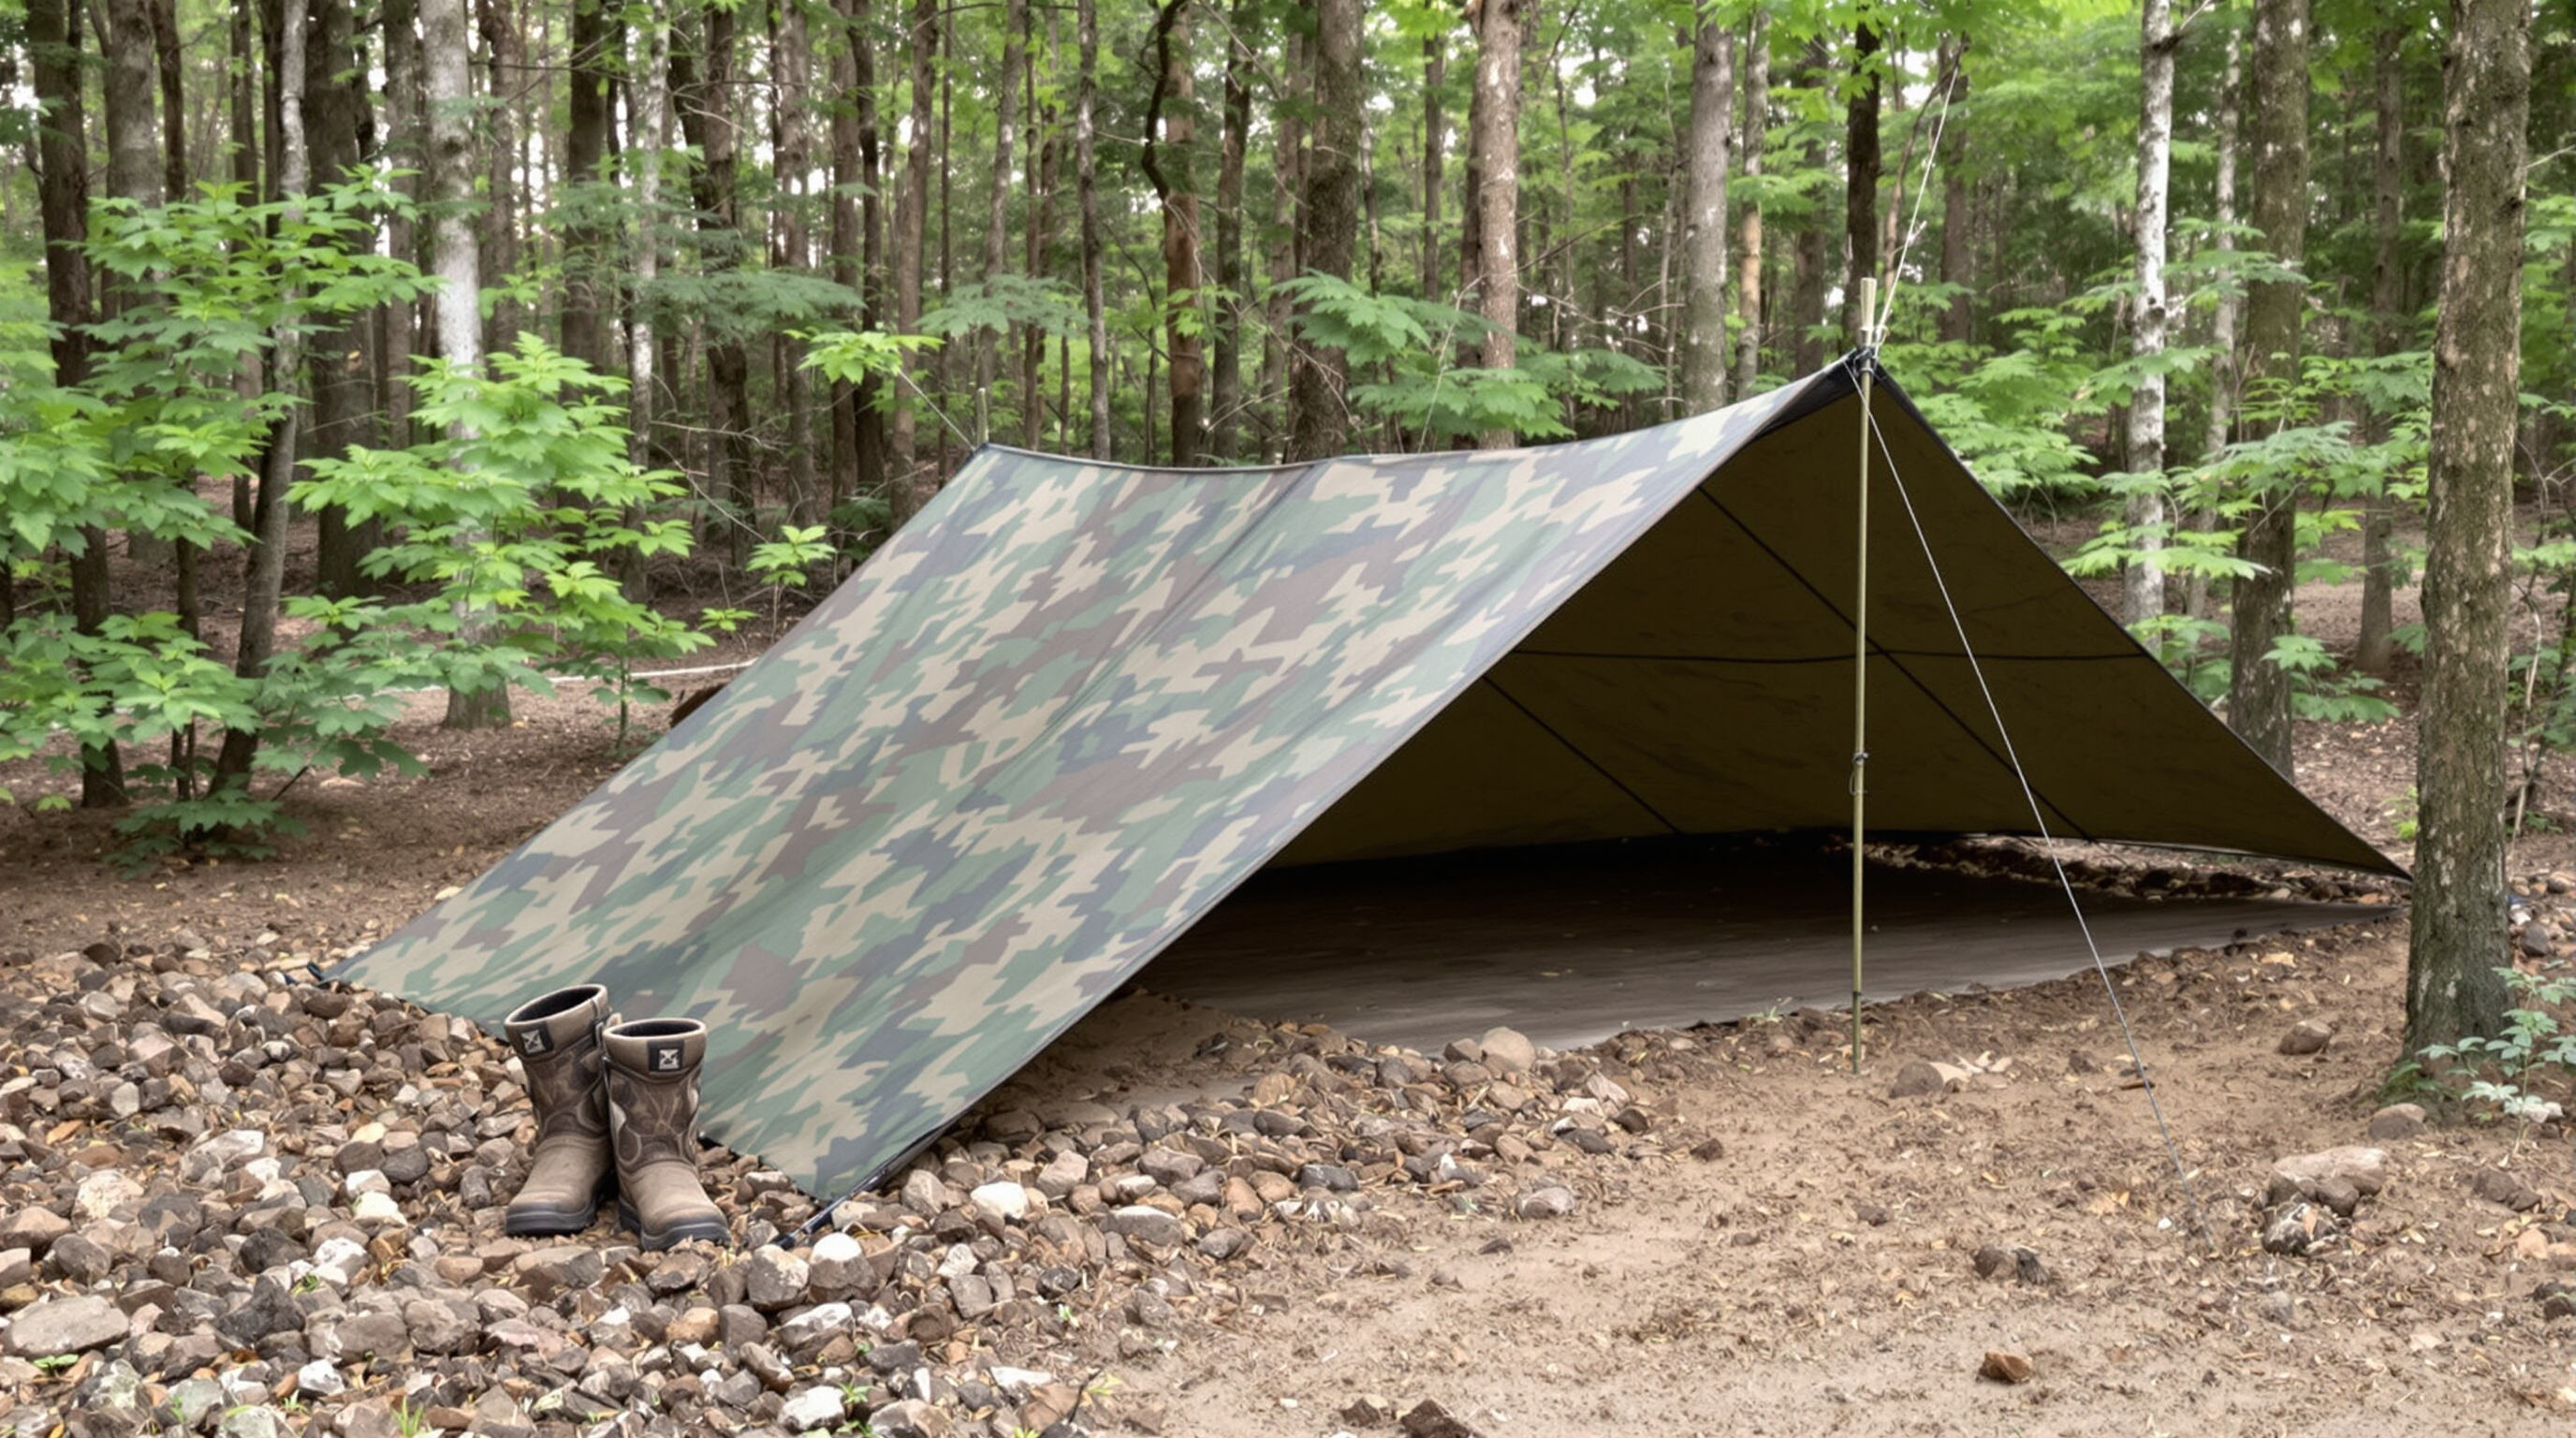
Aligning Camo Tarp Patterns with Surroundings for Effective Concealment
The tarp's camouflage needs to match whatever environment it'll be used in. Woodland patterns work best in forest areas where those organic shapes can disappear among trees and foliage. Desert terrain calls for sand-colored patterns that won't stand out against the dunes. According to some research from last year on surviving in the wild, when people actually matched their gear to surroundings, they got spotted 63% less often during field operations. That's pretty significant, though obviously real world conditions vary. Don't make the mistake of putting bright green patterns on a sandy beach or dark desert tones in a forest clearing. Such mismatches create obvious contrasts that give away position way too easily to anyone looking around.
Breaking Up Silhouette with Natural Materials and Positioning
Enhance concealment by layering local foliage—drape branches or leaves over ridgelines to disrupt geometric outlines. Position the tarp at irregular angles rather than perfectly horizontal to mimic natural debris. For elevated setups, angle edges downward to avoid creating box-like silhouettes visible against the skyline.
Minimizing Detection Risks: Managing Reflectivity and Movement
Tarps with matte finishes minimize glare from sunlight or moonlight, reducing visual detection. Secure all edges tightly to prevent wind-induced flapping, which can reveal position through both movement and sound. In high-traffic areas, weigh down the perimeter with rocks or logs for added stability and noise reduction.
Improvised Applications: Ground Cover, Signal Panel, or Emergency Poncho
Turn the tarp over so the bright orange side shows, making it easy to spot from above during search operations. When caught in a downpour, make a quick poncho by snipping out a hole for the head and securing the edges with some good old duct tape. Medical teams can also use the tarp as a clean surface for patients, keeping them away from dirty ground in emergencies. The versatility of these tarps means people stay prepared even when they don't have access to proper equipment, which happens more often than anyone wants to admit.
FAQ
What materials are camo tarps made from?
Camo tarps are usually made from polyethylene or polyester blends with varying thicknesses depending on the manufacturer’s preference for durability versus portability.
How do camo tarps blend into natural environments?
These tarps use complex camouflage patterns featuring a mix of earth colors that help them blend with local flora, disrupting visual perception from both normal and infrared perspectives.
What factors should be considered when setting up camo tarps?
Consider terrain, wind direction, sun exposure, and select strategic anchor points with redundancy to ensure stability and concealment.
Can camo tarps serve purposes beyond shelter?
Yes, they can be used for gear protection, makeshift carry bags, ground pads in wet conditions, signal panels, or emergency ponchos.
Table of Contents
- Understanding Camo Tarp Design and Functional Advantages
- Site Selection and Preparation for Optimal Camo Tarp Performance
- Setting Up a Stable Camo Tarp Shelter: Framework and Rigging Techniques
- Wind-Resistant Stabilization: Guy-Line Systems and Tensioning Strategies
- Strategic Placement of Guy Lines for Maximum Tarp Stability
- Using Adjustable Tensioners and Elastic Cords for Reliable Performance
- Common Guy-Line Mistakes and How to Avoid Them
- Maximizing Concealment and Versatility in Tactical and Outdoor Use
- FAQ